Aside from some routine maintenance, this Waveterm B had a little devil sleeping inside for 25+ years now, showing that intuition and being insistent sometimes beat circuit analysis skills.
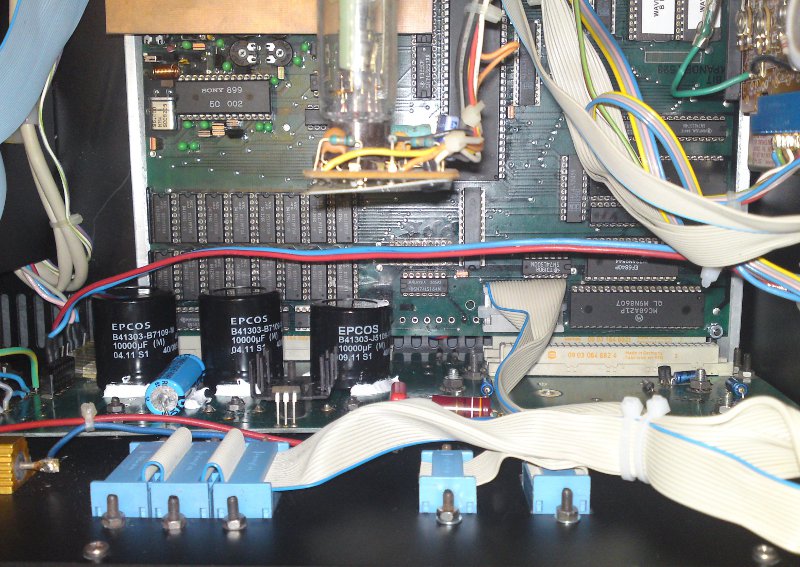
This is the inside of the Waveterm after completion:
What we don’t see:
- complete rewiring of the mains supply to prevent short circuits or even electrocution of poor service personnel
- new distance bolts and thermal grease for the voltage regulators
- interconnections between the two computer boards soldered directly to get rid of the flaky connector
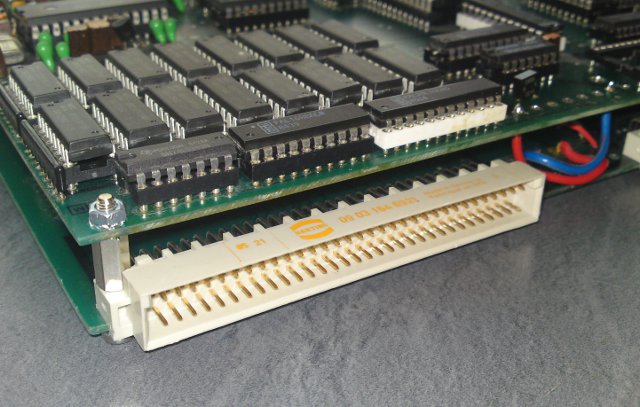
- additional bolts to improve mechanical stability of the PCB sandwhich (see photo below)
What we do see:
- new electrolytics in the power supply – yes, I dared to re-fit them the PCB, as they are much smaller than the orgininals and won’t get toasted by the DRAMs in full
- EPROMs had their contents re-written from a known good Waveterm, as one had another checksum as a good dump of the same firmware version
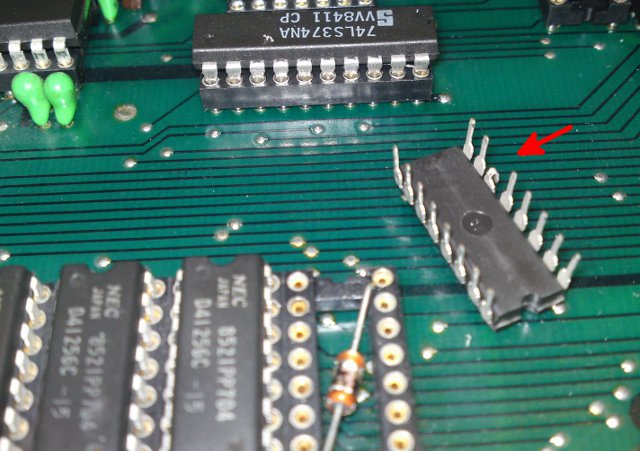
- All DRAMs at their places
Huh? Where else should they be if not in their sockets?
Hmmm.. let me think… lying in the dust, being stamped on by some heavy state elephants before real pain is being introduced to them?
Something else adequate to compensate for fooling me three hours? No understand?
Look here:
Actually I don’t have much reason to complain. It worked for 25 years this way, much more one would expect from some modern high technology product. And it did work – sometimes, most of the time. But slight knocking would make the 68000 CPU part crash. After bending the DRAMs leg back everything is fine now for the next 25 years.
The two computer boards are stacked using some DIP40 sockets below the 6809 CPU and were only secured to each other on one side. To prevent this connection from becoming intermittent, I installed two additional bolts to hold them together on all 4 corners:
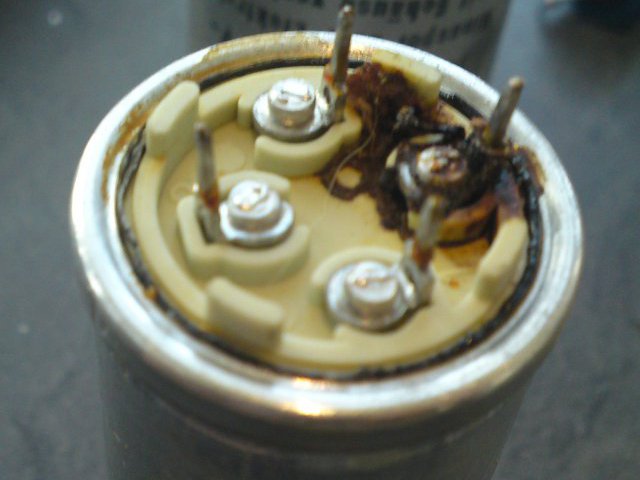
Finally I can show you a good reason to replace an electrolytic capacitor (no, this is not some kind of glue):


